Showing posts with label curtains. Show all posts

Thursday, April 25, 2013

Finishing Touches: Nursery Curtain Stencil


E's room has been a work in progress from the word 'go'. Beyond generic ideas like 'paint the room a bright colour' or 'get a comfortable chair to do nighttime feedings in' I never really had a vision for what it would look like. So, to some extent, it feels a bit hodge-podge to me. Though I do like the way it's coming together.

First, I painted the walls in B&Q's Sunflower yellow. After that, I picked out a lampshade and some curtains to go over the window. Those curtains that were hanging when we moved in were horrendous. After that came the roller blind, the POANG chair from IKEA, the TROFAST shelving, also from IKEA, the cot, and eventually the wrapping paper backing on one of the BILLY bookcases. It seemed like the room was all coming together and was basically finished. After all, we'd long had a baby sleeping in that room by the time I finally decided to jazz up the bookshelves. But there was still something missing for me.

just a bit...boring.
I'd bought the plainest, least expensive curtains I could from John Lewis. I'd already bought new curtains for our bedroom, and in that same trip I was grabbing a set for the bay window in the living room as well, so I needed to get something that was simple, that wouldn't make the room feel too crazy, and that wouldn't break the bank 3 sets of curtains later. But over the nearly 2 years (wow...) those curtains have been up I've gotten tired of how plain they were and wanted to dress them up a bit.

After checking a bunch of fabric painting tutorials online, this one from Ela's Smile gave me the confidence to just go on and get it done. The hard part would be deciding on colours and a pattern for my stencil.


I sketched and searched for weeks trying to decide on something that I wouldn't dislike as soon as I saw it. I also needed something that was within the limited confines of my skills since I was committed to making my own stencil. Hence the reason that although I adore this Hygge & West wallpaper, in the end, I voted against trying to recreate it as a stencil for E's bedroom curtains.  Those clouds were just too convoluted. Le sigh...it sure would have been pretty, though.
by Julia Rothman via, Hygge & West

The colours stuck with me, though, and so in the end I wanted to find something that would fit a red and turquoise colour-scheme. What did I come up with? Umbrellas.


It took me ages to come up with the right sort of material to make my stencil out of. I needed something that wouldn't deteriorate and fall apart when covered in wet paint. I know that the tutorial I linked to above mentions getting stencil sheets from a craft store. Since my nearest decent craft store is in Basingstoke, I just cut the stencil out of a plastic folder from a stationer's store. 35p, FTW!

I first designed the pattern in PowerPoint and fiddled around with the slides to see if it would look good as a repeating pattern. (I initially thought of having a row of all red followed by a row of all blue.) I asked the Husband for his opinion and we decided on the alternating pattern of open red umbrellas and closed turquoise umbrellas.

So with my stencil designed and cut (I printed my PowerPoint design then cut the folder with an Exacto knife with a cutting board underneath for safety.) it was time to get cracking. After a brief trip to B&Q that involved watching Sarah & Duck on my phone at the paint counter, I had my colours, so once a convenient nap time came around, I got to work!

How to Stencil Your Curtains:
- lay out the newsprint underneath of the curtain
- get the curtain as flat as you can
- make sure you check your spacing!
I traced my pattern lightly in pencil. That way, I knew how far apart to space them.
I didn't trace every umbrella: just the top row and left column. I could position
everything else off of those.
- dab the sponge from edge to edge - almost like a rolling motion.
- just get enough paint to wet the fabric: don't overdo it!
I was fine with a bit of patchy colour once the curtains were hanging up.
If you're not, though, let it dry a little and then do a second coat of paint.
- periodically clean the back side of the stencil to keep from spreading too many smudges of paint where you don't want them.
In progress.
This project has turned out brilliantly so far. E loves his new curtains and keeps pointing to the open red umbrellas saying, 'That!' very loudly. I love that they bring the turquoise of the roller blind more into the bright colour scheme of the rest of the room. The whole look seems to have come together around the primary four colours of E's toys: red, yellow, green, and blue.

Oh, and here's the breakdown of everything:
Tester pots of paint: £2 each (£4 total)
Plastic folder: £0.35
Old sponges: already had them. Though you can snag a cheap pack at Sainsbury's for less than £2
Painting time: 2 hours

So there you have a cheap and easy way to update any boring textiles sitting around the house. It's projects like this that remind me why I enjoy doing DIY so much!

Friday, September 7, 2012

All About the Details: Bay Window


I've started to realise lately just how much I enjoy having plants in the house. Actual growing plants or cut flowers...it doesn't really make much difference to me. Gladioli, lilies, succulents, the little tree we bought at IKEA (and I still don't know what kind of tree it is), even some roses I once stuck in a milk-carton-shaped creamer I bought at NEXT. I enjoy having plants even though Ethan is at the stage where he likes to test his limits by seeing if I'll always say "No!" when he yanks on the leaves of our little potted tree.

But what I've really discovered lately - especially with our new living room arrangement - is that even more than having flowers in a vase on the table (that we hardly ever sit at), I like having flowers in a vase in our bay window. Or even just the vase in the bay window.

When we moved the dining table against the far wall, bar-style, to give E more playing room on the living room floor, two of the chairs found their way into the window alcove for more living room seating. This way, we have honest-to-goodness seating in the round if I pull in the upholstered bench that not-so-secretly holds all of our crafting supplies.

What I've realised is that I thoroughly enjoy accessorizing that bay window. I love seeing the mid-afternoon sunlight streaming in to set off the chairs against the polka-dot curtains with my sparkly picture frame and sparkly vase. (And I even staged the scene a bit with E's brand-new wooden race car; courtesy of his Oldemor. Oh, and if you don't speak Danish, that's his great-grandmother: my Farmor.)

I'll have to find you some other little corners of the house that have been jazzed up in our time here. And of course, this bay window will change drastically over the coming months as Halloween, Thanksgiving, and Christmas approach. Expect to see several reincarnations of this space, people. I'm already looking forward to it.

Saturday, August 20, 2011

Finally...sort of...

So we've finally gotten around to a few more of the "finishing touches" on the nursery. Yes, I know. The baby may not be here just yet, but it's certainly taken far longer than I thought to keep working on the nursery. The two glaring inadequacies were:

1) A lack of a finished window treatment.
2) The framed pictures sitting useless on the floor.

It was time to fix both of those. A quick few seconds with the hammer and two nails dealt with those pictures easily enough:


Next task was to fit a shade to the window. I had my lovely neutral (and cheap!) curtains from John Lewis, but those still let in so much light at mid-day that afternoon naps could prove to be something of a problem. Plus, there were still gaping holes from the previous window fitting (remember the creepy 80s curtains?) that desperately needing covering up. Witness: the before shot...


Okay, so you can't see the holes above the window in this shot, but trust me when I say that they're pretty obvious in real life. Luckily, we made another trip to B&Q today for this and a few other project supplies (briefly milking the minimal suspense...), so I came home with this solution to my overlit nursery problem:


We wanted to have another colour in the room besides just the predominant yellow and green, and this seemed like the best chance to introduce a new hue to the crew. (Yeah, I went there...I'm a dork. Don't tell me you expected anything less.) We were trying to decide between the nice shade of teal above and a navy blue. I'm sure the navy would have worked, too, but in the end my gut instinct won out. It's the sort of thing you have to check, though. I would have felt worse if we'd bought it simply on my knee-jerk reaction (Hi, I love all things teal/cerulean/aquamarine), so I had to make sure my rash judgement was still the best option. It was. Eh, I'm just that good. ;-)

The instructions were simple enough: drill holes, hammer in Rawl plugs, screw the screws, slide on the fittings, fit in the blind, and voilà! Updated window fitting that adds another colour to the nursery colour scheme.


(Sexy husband to help with all the measuring and drilling not included in rolling blind installation kit.)

And in the end, the result was just what I was hoping for. I'm getting much better at this whole visualization thing, I think.


Eventually, I'll have to start updating the rest of the house, because this room is ridiculously colourful compared to the rest of our drab white walls.

Oh, and I had another addition to our baby things show up in the post the other day!


So you can't tell because the picture is tiny and I've blurred out my address to deter any Interwebz stalkers, but this is from my lovely friend Sarah, who decided that I needed a good way to laugh about pregnancy and baby-handling.

Hmm...I wonder what could be in Sarah's mysterious box of wonderous baby-themed presents...


Turns out that the best way to laugh is with some witty cartoons mockingly instructing you on the best way to take care of yourself and the baby through pregnancy and infancy:


Thanks, Sarah! We had a good laugh over these at the dinner table when Seb got home from work the day they arrived.

Oh, and for everyone who's been wondering, I have actually bought something for my baby (besides a place to sleep and stuff to travel safely): we got onesies today! I love that I don't have to feel guilty any more ogling the baby clothes aisle in stores; I can officially cave (at least in small measure) to the cuteness of onesies and tiny shoes and little dresses and leg warmers for chubby little baby legs! (Deep breaths...if I'm not careful this baby will have a bigger wardrobe than Paris Hilton...)

If you can resist this, you have no soul.

Tuesday, June 28, 2011

Curtain-Hanging Extravaganza

Okay, so maybe "extravaganza" is a bit much to describe my curtain-hanging exploits yesterday. Maybe Curtain Fest or Curtain Adventure would be better. Either way, it was both more and less involved than my last attempt...though I'm inclined to err on the side of "more involved".


The day started with a much-needed trip out to Reading. Why Reading? Because Farnborough is a little too ghetto to have a John Lewis, and that was the store that had the curtains that seemed most likely to get the job done. They were A) not very expensive, and B) involved pretty much no sewing. Definitely what I wanted. Until I get myself a sewing machine, I'd really like to avoid sewing-related projects where I can. My hand-sewing is worse than my machine sewing and it's a pain in the butt.

So, out to Reading, and two hours later I walked back to my car full of a tasty burrito (The Mission is a brilliant stand-in for Chipotle) and with two sets of John Lewis curtains for the remaining nekkid or poorly-dressed windows in my house. It didn't take me two hours to find and decide on curtains...it took that long to get myself a dress that covers my baby bump (church/wedding appropriate maternity clothes are thin on the ground in my wardrobe).


So these were the curtains I walked out with. The ones on top...John Lewis Value collection. Which means they only cost me £20. Score! The other curtains were the only unlined variant of that pattern I found, and for the length I wanted (the usual 228cm for all of the windows in our apartment) they only set us back about £44. Under any other circumstances, I would have balked at this price; but, we had some extra cash floating around as an anniversary present from Seb's awesome Granny. So we put that present towards some jointly-approved home improvement.


First to go up were the - presumably easier to hang - polka dot curtains. The bay window in our living room has now become Polka Dot Corner (hi, I'm Bryony and I'm addicted to polka dot patterns...), but since it's confined to that space, I think it's okay. I promise I won't add any other dotted patterns to the living room décor. And anyway, Seb gave his full approval to hanging these specific curtain in that specific window. I have an enabler.

The reason these were "easier" to hang was because they were - dun dun dun! - pencil pleated curtains. I have not hung them with the pleat, but it did mean that I could steal repurpose the fixings from our ugly terracotta-coloured curtains. That handy bit of scavenging saved me having to replace the curtain track that goes around all three sides of our bay window; which is good, because curved curtain rails aren't the least expensive thing to switch out.

Well, I got the fixings on, threaded them onto our weird bendy curtain track...and spotted a problem. Do you see the problem?


Yeah. My 228cm drop length was a teensy bit too long. Because I hadn't switched out the curtain rail, these curtains weren't High and Wide like the ones in our bedroom. Granted, the other lengths were too short to get the ground-brushing effect I wanted, but I now had 16cm of extra fabric to contend with. Time to get creative.

My first idea was going to be a temporary quick-fix. I'd iron the curtains up to the length I needed and then (crafty cheater that I am) use some bobby pins to secure them at the appropriate floor-brushing length until I could get some hem tape. I didn't want to cut these beauties because they'll come with us to our later homes, and if I get the chance to hang them to their full length, I intend to take that chance.

Well, ten minutes, some ironing, and about 6 bobby pins later, I realised that my cunning plan just wasn't going to cut it. Boo-hiss. On to cunning plan Numero Dos: hand-sewing. I texted the Husband at work and got him to pin-point the location of the only thread and needles in our home: a tiny button-fixing kit he got from staying in a snazzy conference centre for work. Out the button fixing kit came, riding a black horse and wearing a mask, ready to save the day from droopy puddling curtains. Okay, its entrance wasn't that dramatic...


Ta-da! Cheating accomplished. By doing this every 5" or so, I was able to get a much more acceptable solution to my too-long curtains. And I didn't lose any of the length, so they're reusable on whatever windows may come our way in the future. Handy, huh?


So now that I had some much nicer living room curtains all fake-hemmed and hanging, it was time to tackle the bigger beast: my nursery's nekkid window.

This window has been scandalously undressed for about a week or two now. I took the curtains and rail down to paint and never put them back up since A) I was getting new curtains anyway, and B) they would hang on the second Ikea curtain rail we had bought on our big New House Ikea Trip. Unfortunately, with the turn to hot, muggy, and otherwise unpleasant jungle-like weather, those nekkid windows turned the nursery into a sauna. Seb went in one evening to assemble our last Billy bookcase and came out looking like he'd been in a fight with a swimming pool and lost.


Since I was hanging another curtain rod, out came the Rawl plugs and drill. The drill and I don't seem to see eye-to-eye when it comes to securing these Ikea fittings to the wall, but in the end I beat it into submission made it see reason and got my curtain rod up.

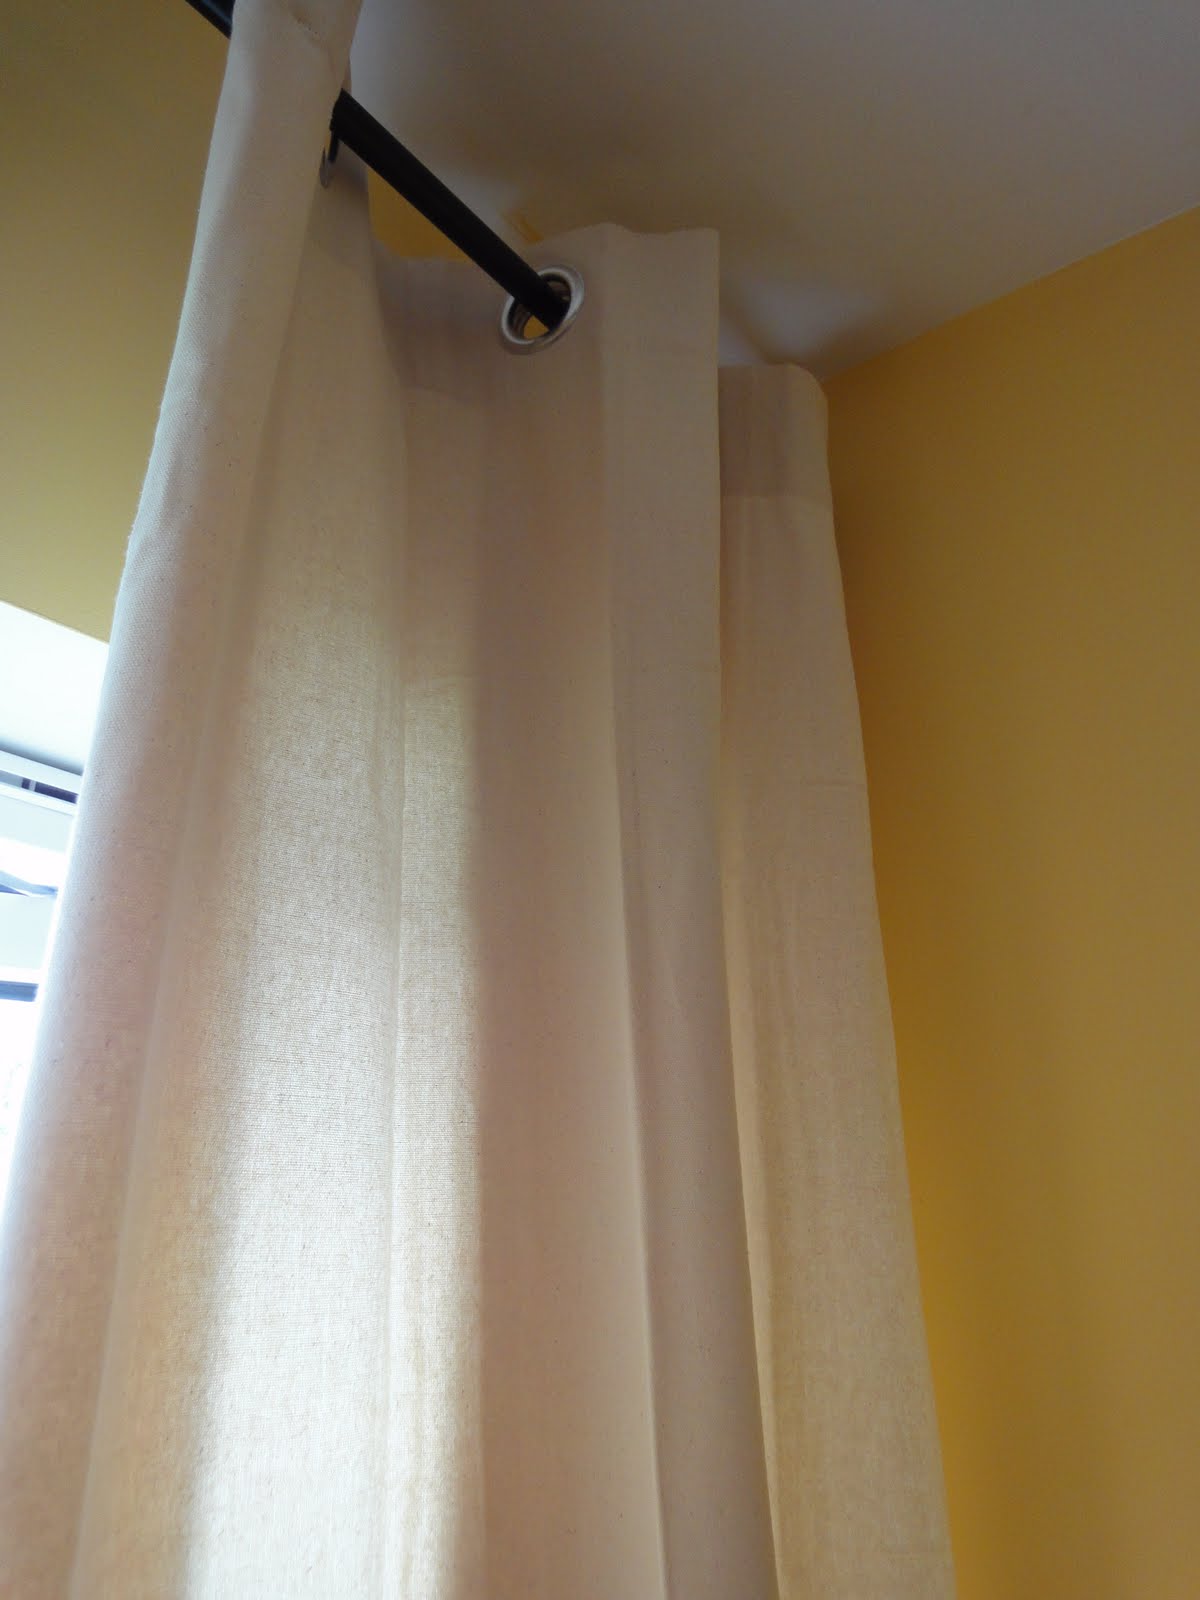
Turns out that John Lewis weren't kidding when they called these curtains "natural". They're way more granola tree-hugger-feeling than I was expecting. Think less "refined undyed linen" and more "trendy burlap bag look". Not entirely what I was expecting. But not necessarily a bad thing.


If I decide that the window really needs some colour, I'll just find a nice fabric dye and attack these with it. But that's a decision for another day. For the meantime, I'll just enjoy having curtains in there at all. And wait patiently for the Husband to break out the Baby Hack Saw to take the extra length off our curtain rail.


Yeah, not only is the room thin and long, but the window is wildly off-centre. Otherwise, wide-set curtains (and long curtain rails) are no problem. But with at least half a foot of useless hardware sticking out on one side, something must be done. Hopefully, by the time my next nursery project comes along, I can show you what a beautiful job Seb's done fixing my awkward curtain rail.

And that, ladies and gentlemen, was the end of Curtain-palooza 2011.